")


Rosé photography isn’t just pretty folks, it’s an art form.
And it’s probably one of the most challenging wines to photograph (in my humble opinion).
If you’ve ever snapped a photo of rosé and thought, “Why doesn’t this look as good as it tastes?”, then you’re not alone. Today, I’m sharing five of my go-to tips that’ll help you capture rosé in all its crisp, fresh, & effortlessly chic glory. From lighting tricks and vintage color cues, to styling secrets and the very real impact of glassware – this one’s for brand photographers, content creators, and wine lovers who want to give their shots a little pizazz.
5 Tricks for Making Your Rosé Photos Stand Out
Whether you’re a photographer, content creator, or creative director styling wine for brand shoots, here’s my best tips for capturing rosé the right way.
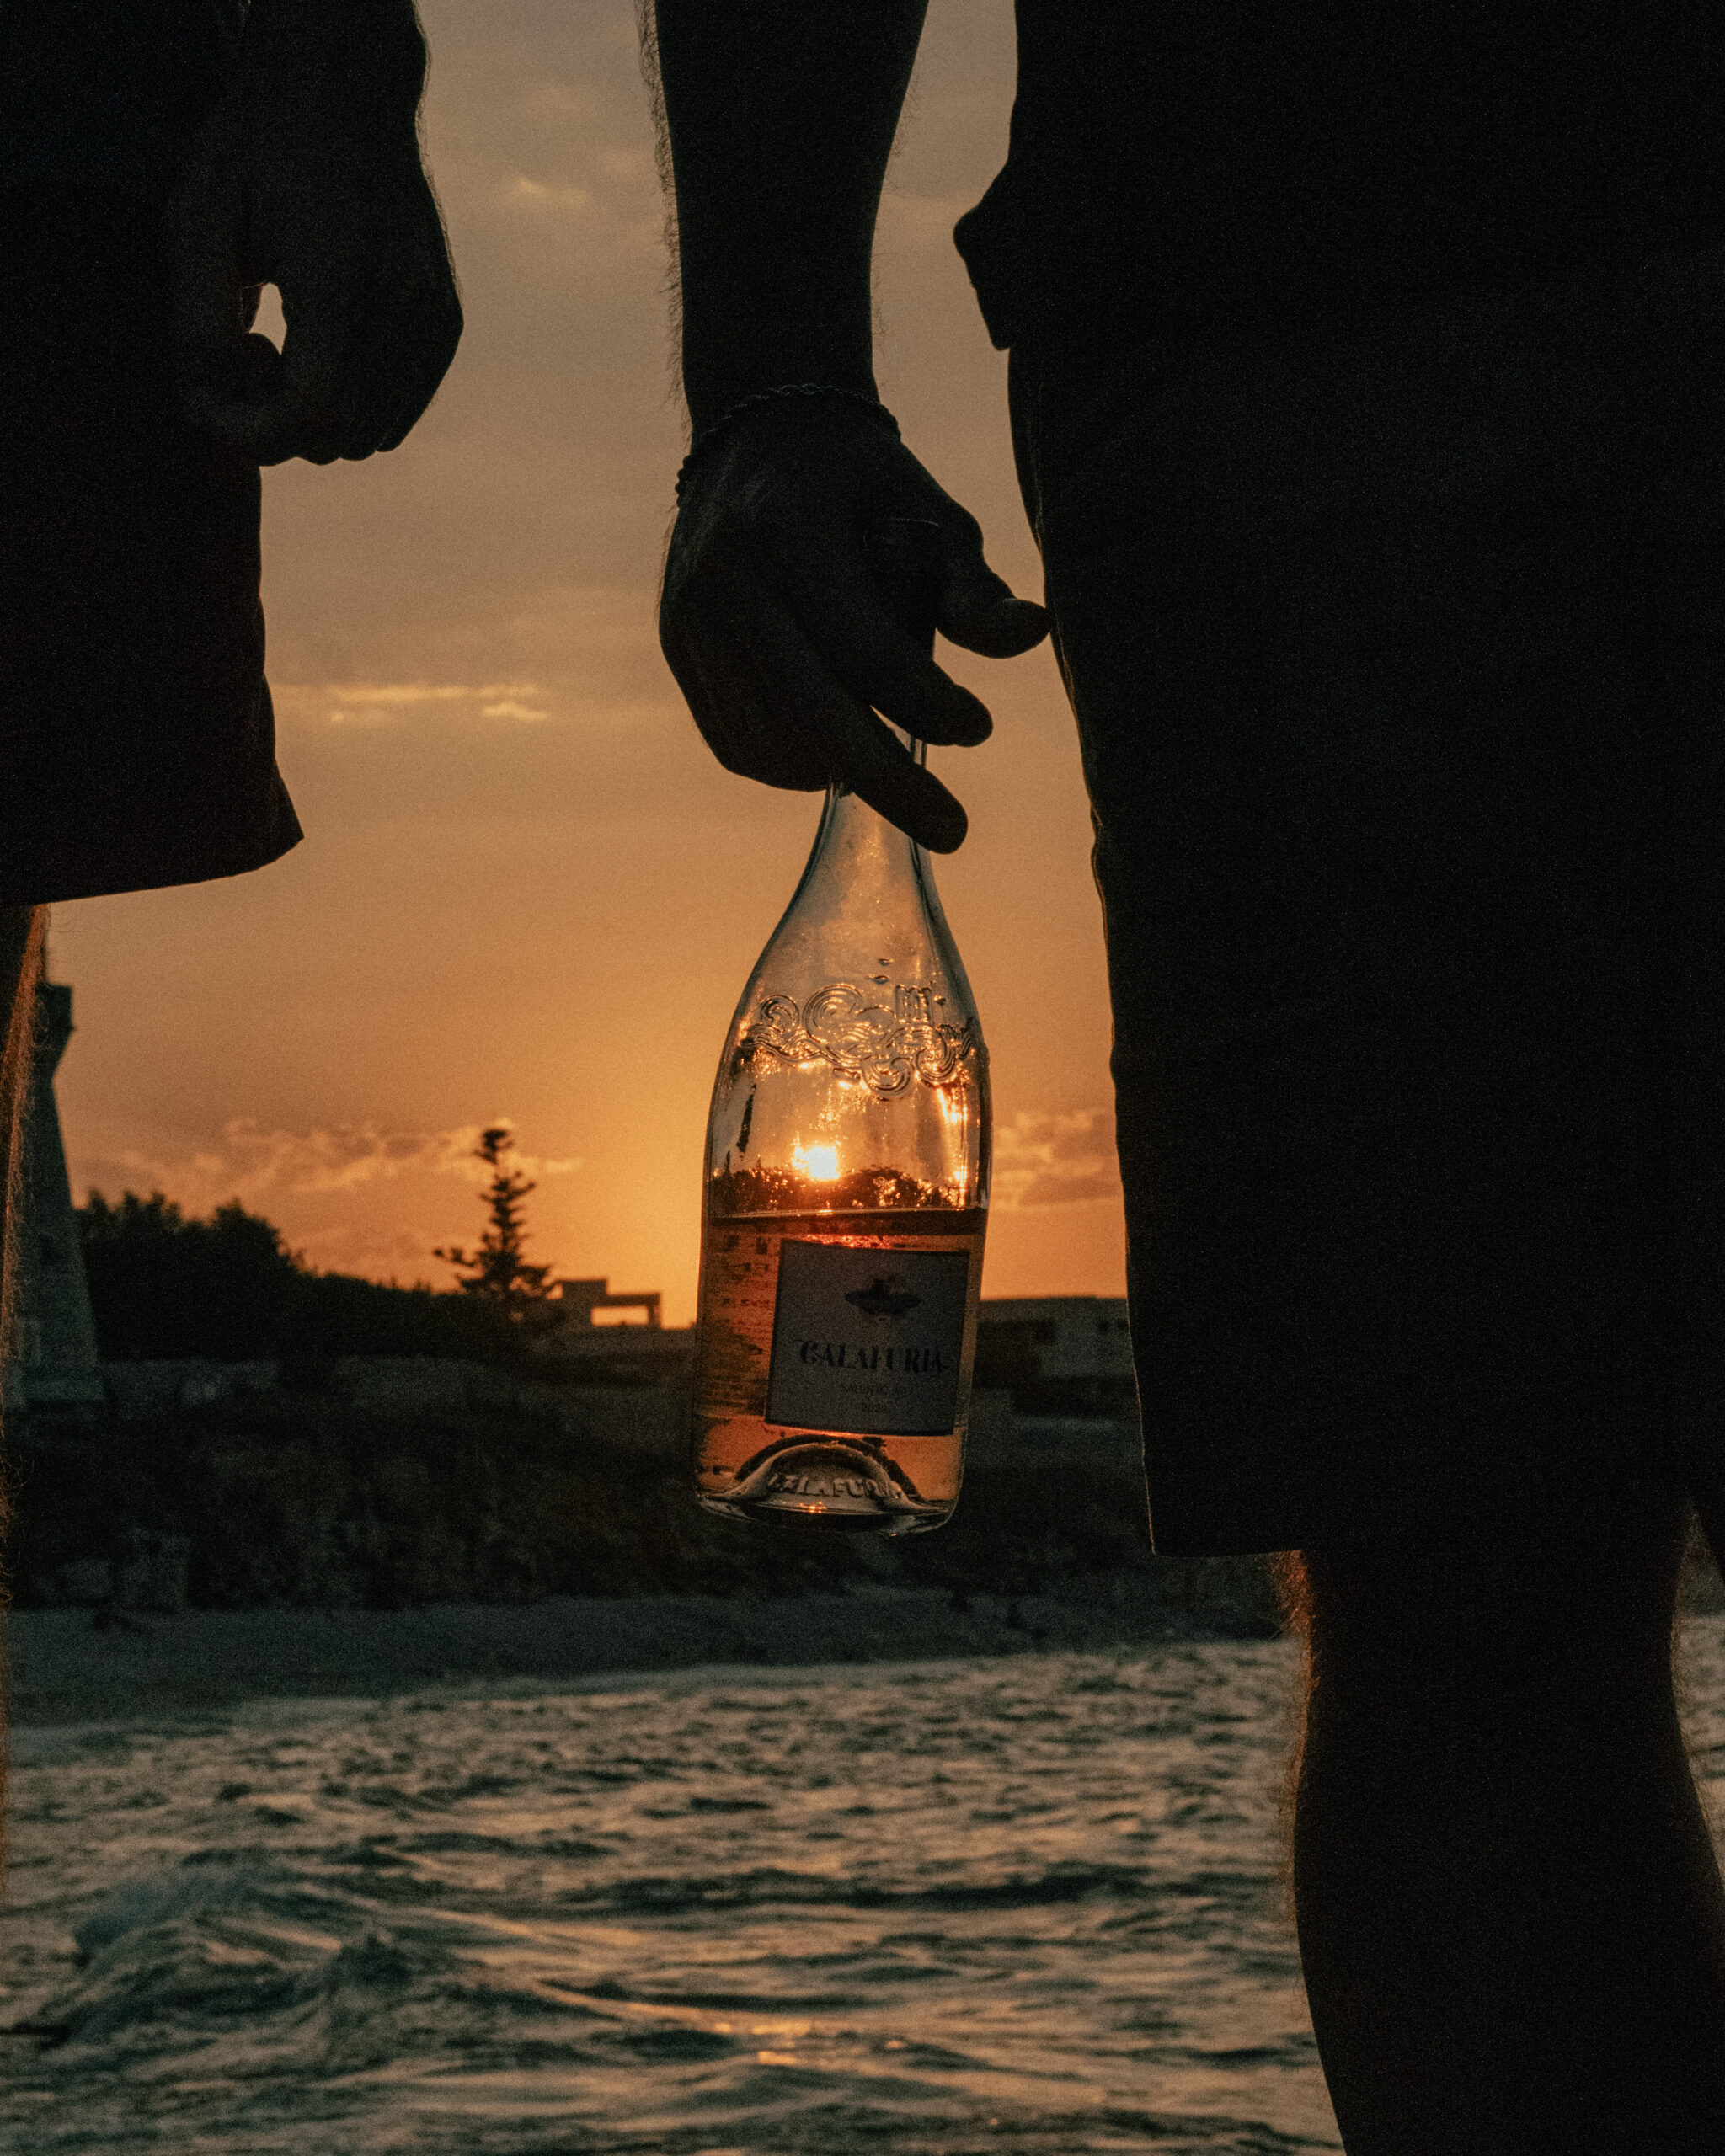
1. Lighting is Everything
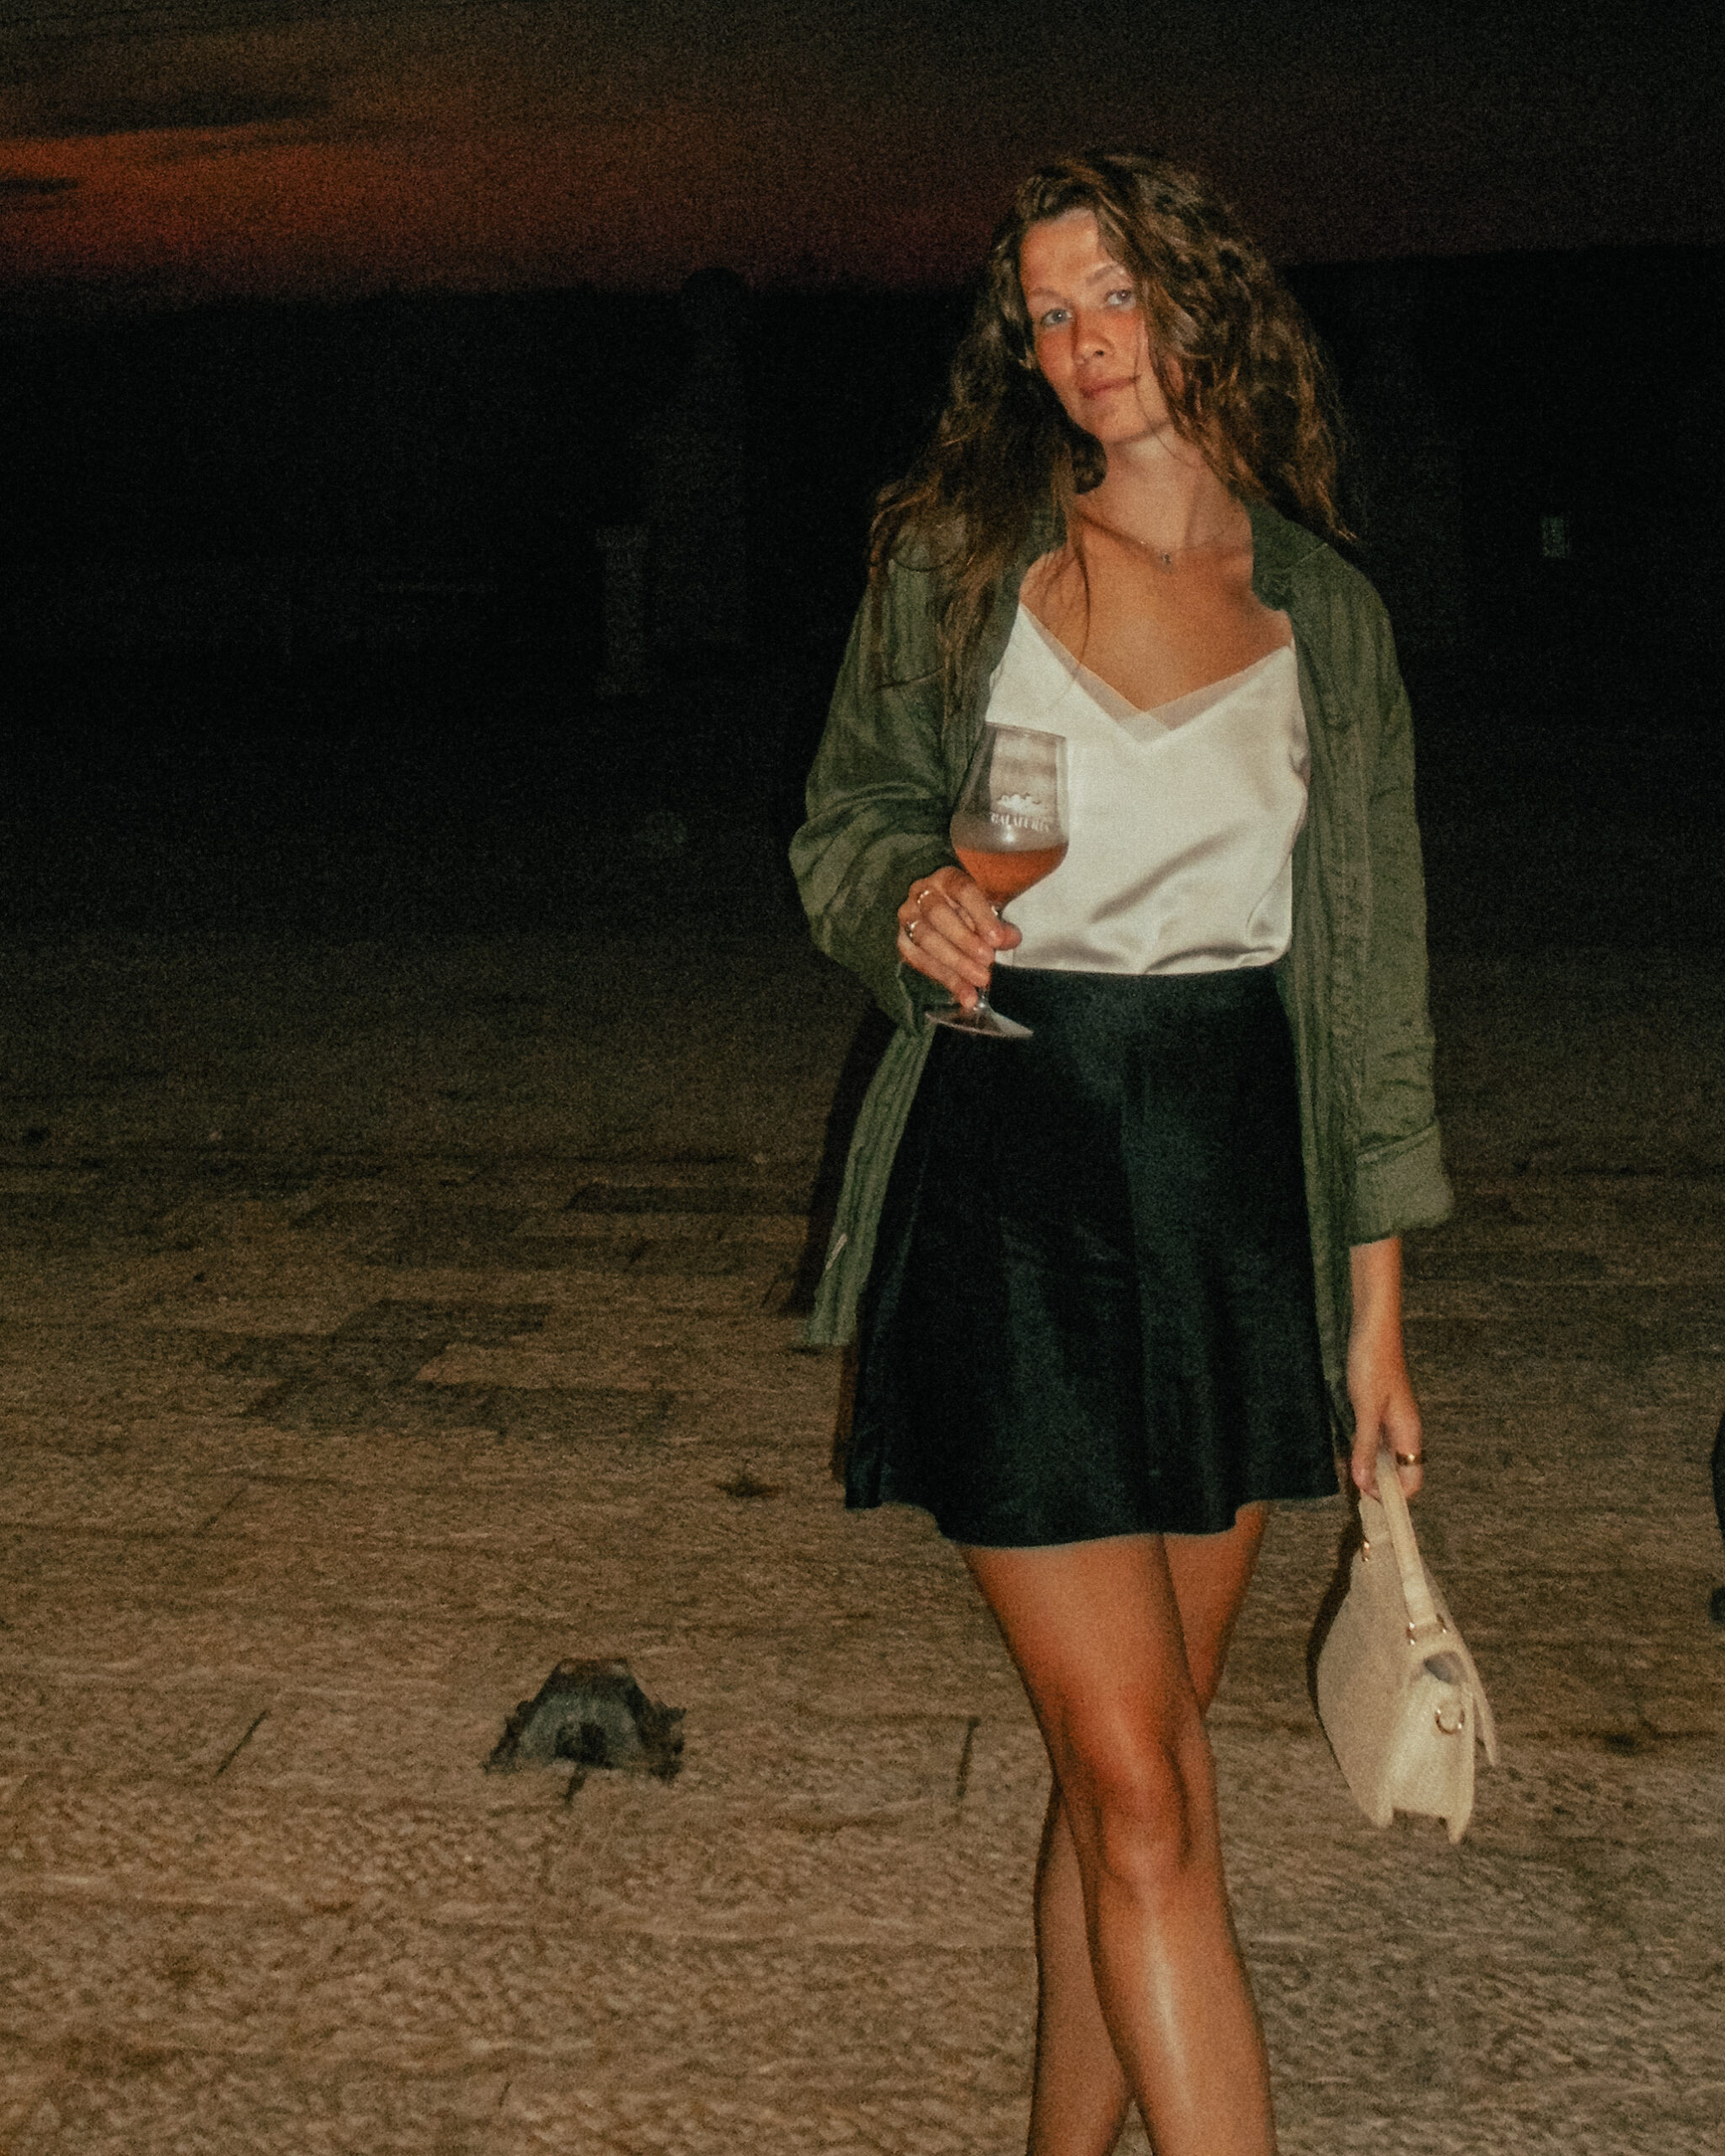
Rosé photography can be challenging, and in my opinion, it’s primarily because of lighting. Depending on the shade of wine you’re working with, you’ll have to decide if softer lighting (like early morning or golden hour) would work best, or if it’s more suited to really dramatic, editorial, midday sunshine.
This also helps you develop the atmosphere for your photos. I’m a bit more preferential to the softer light, especially at golden hour, because I love the haze that my photos get in post-production with this style of lighting.
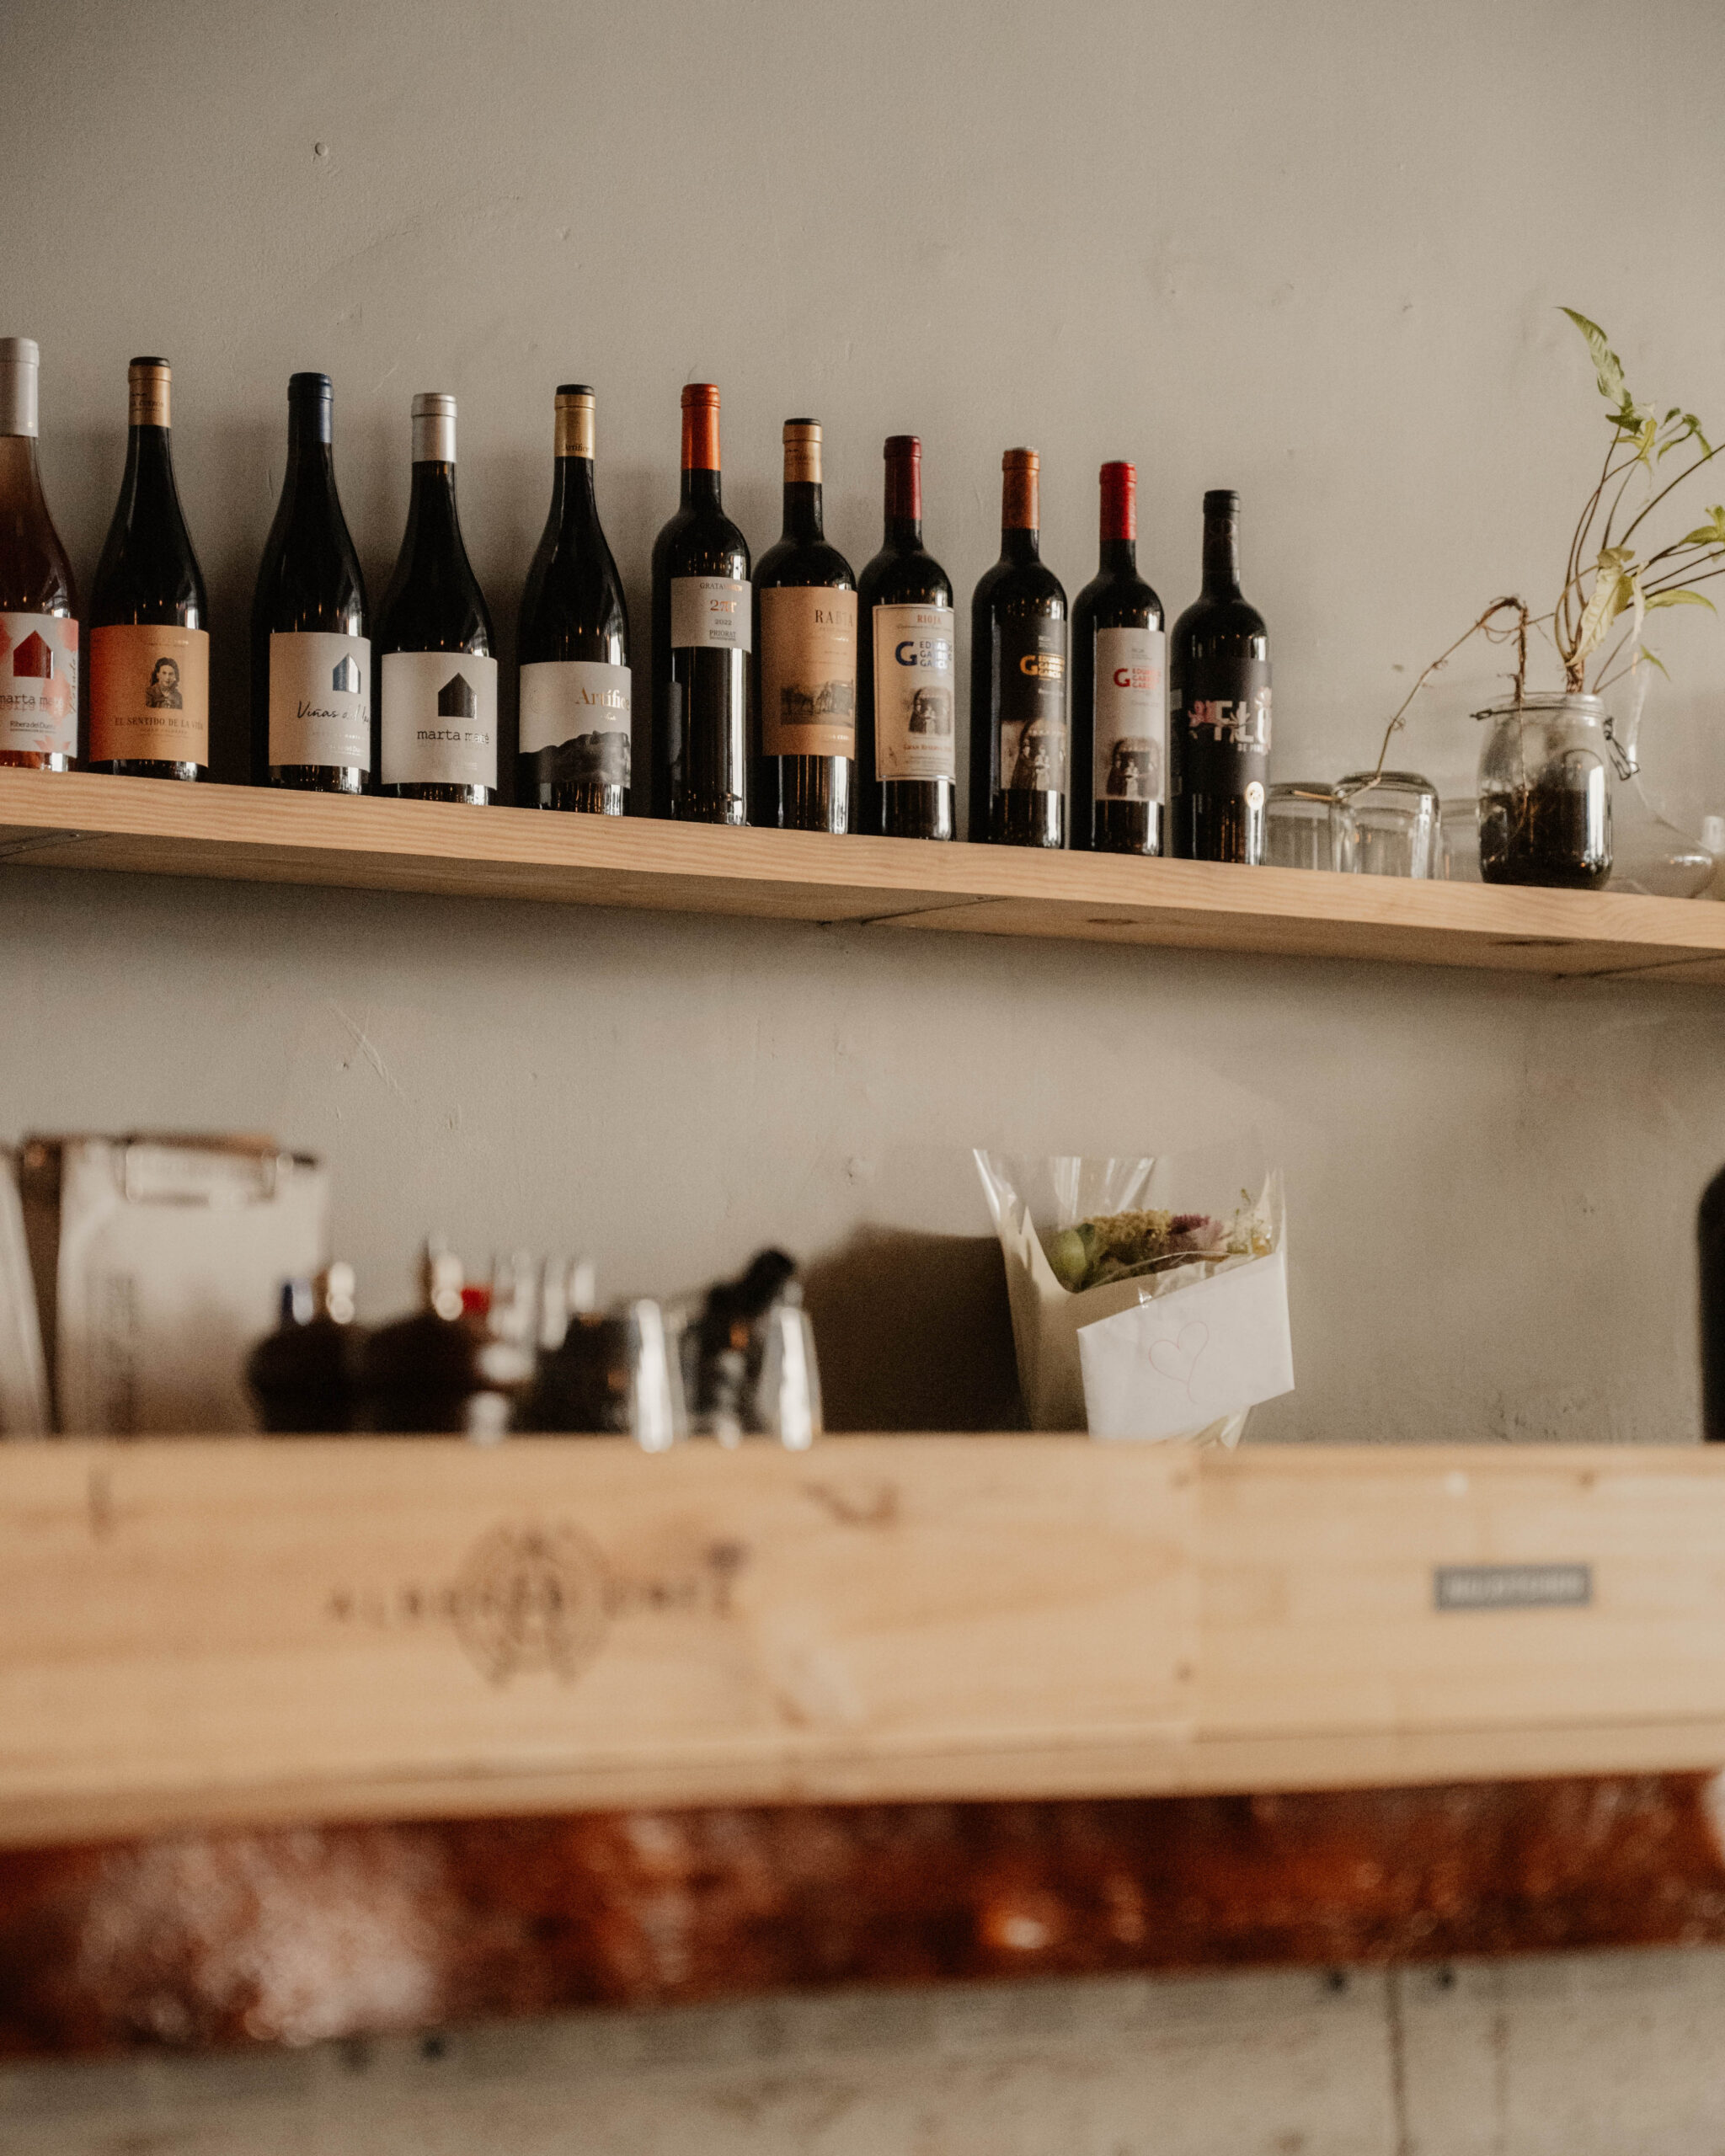
2. Color is Important – Check the Vintage
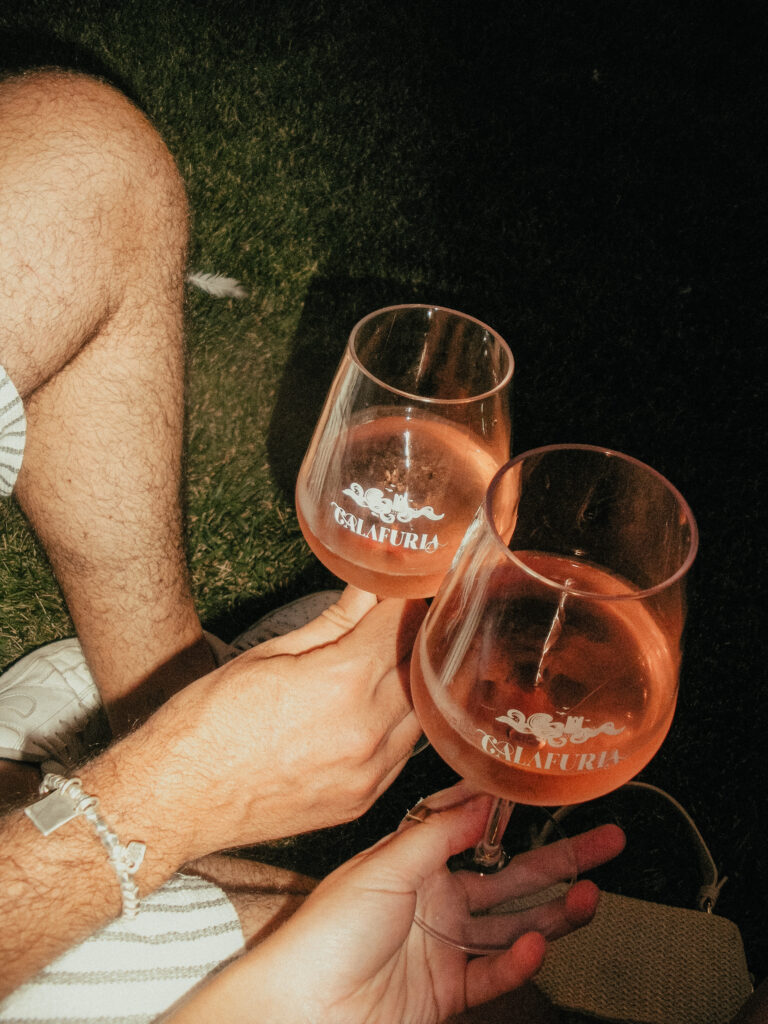
The color of rosé changes the longer it’s been in the bottle. It’ll start to gradually get a little bit more orange towards the end of the year – so it’s something to be aware of if you’re looking for those super crisp, pink hues.
You can always give it a little bit of retouching in post-production by using the “hue” color slider if it’s something you can’t avoid and still want the pink look.
3. Don’t Change the Temperature Too Fast
There’s nothing worse than getting the perfect shot and finding white foam in the bottle in post-production. While it’s harmless, it doesn’t always look that great in photos – and it comes from changing the wine temperature too quickly.
In my case, it was taking it from cold to colder (hellooooo Minnesota winters – check out the gallery from this shoot here), and that temperature shift proved to be a little too quick for the wine on that day. If you’re going the other direction (cold to warm), know that you’re going to get a bit of condensation, but try and aim for a slow warming of the bottle so that you don’t saturate the label with the water.
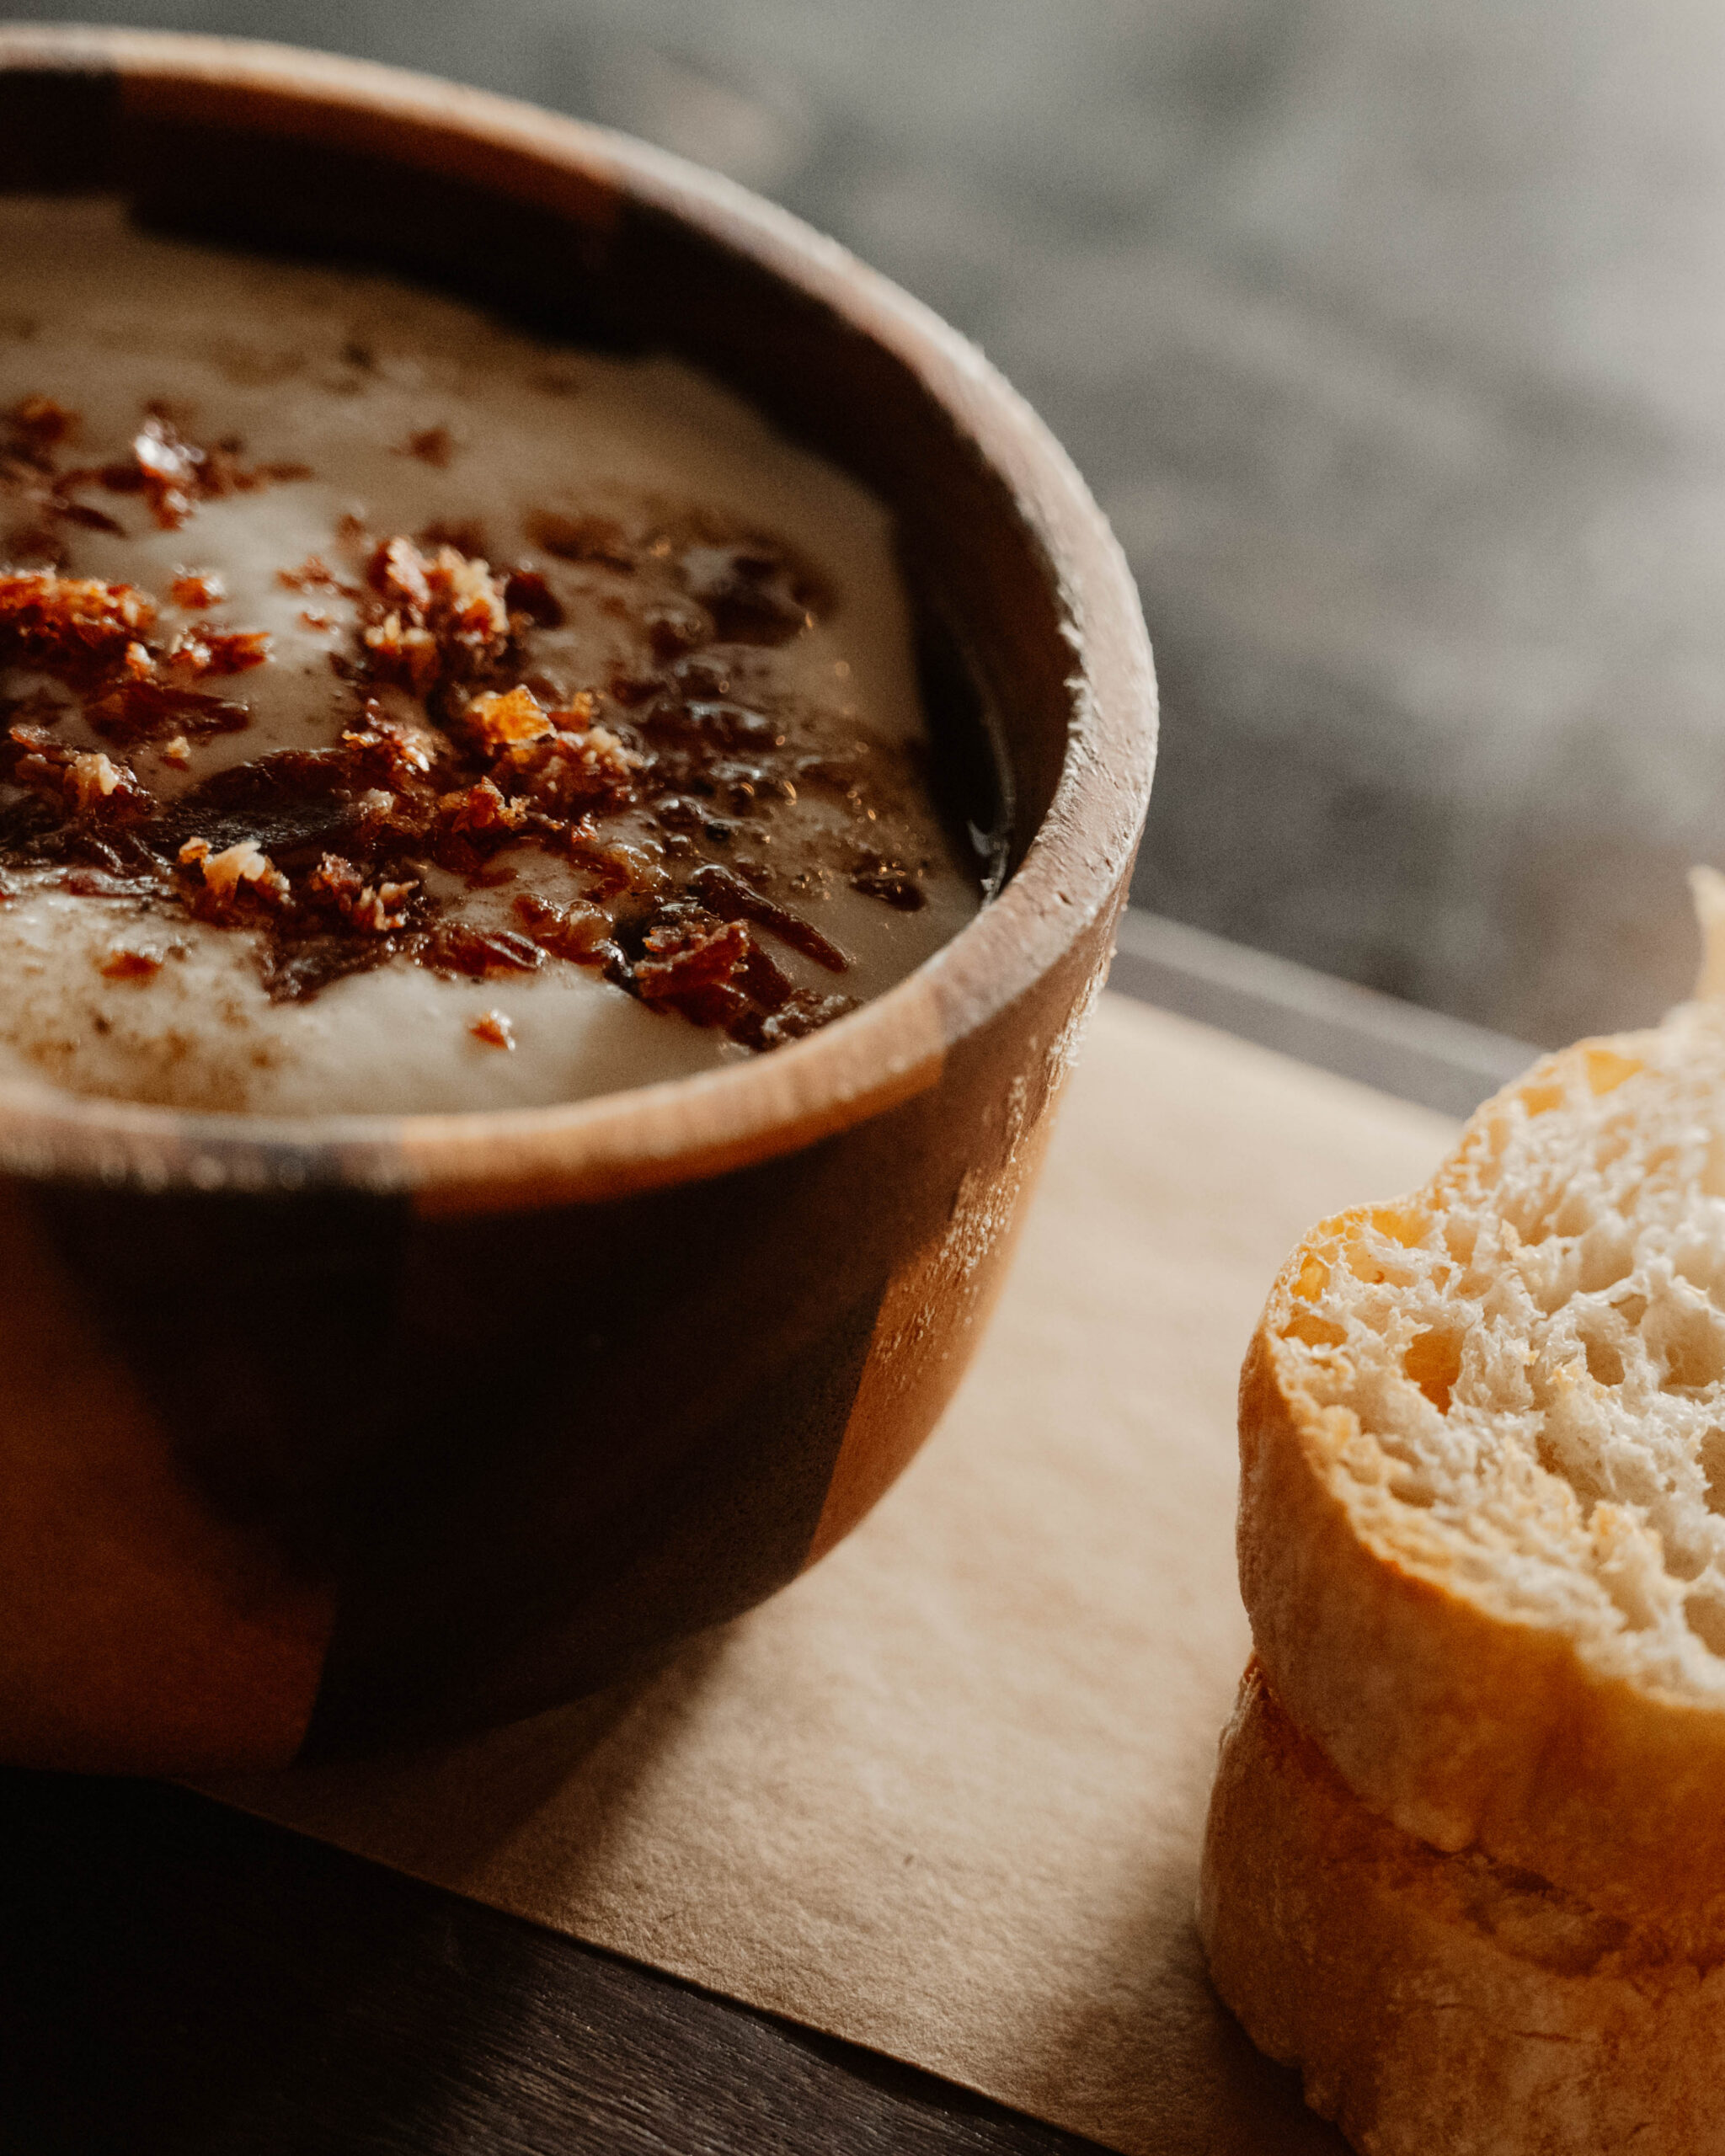
4. Style Your Shots with Intention
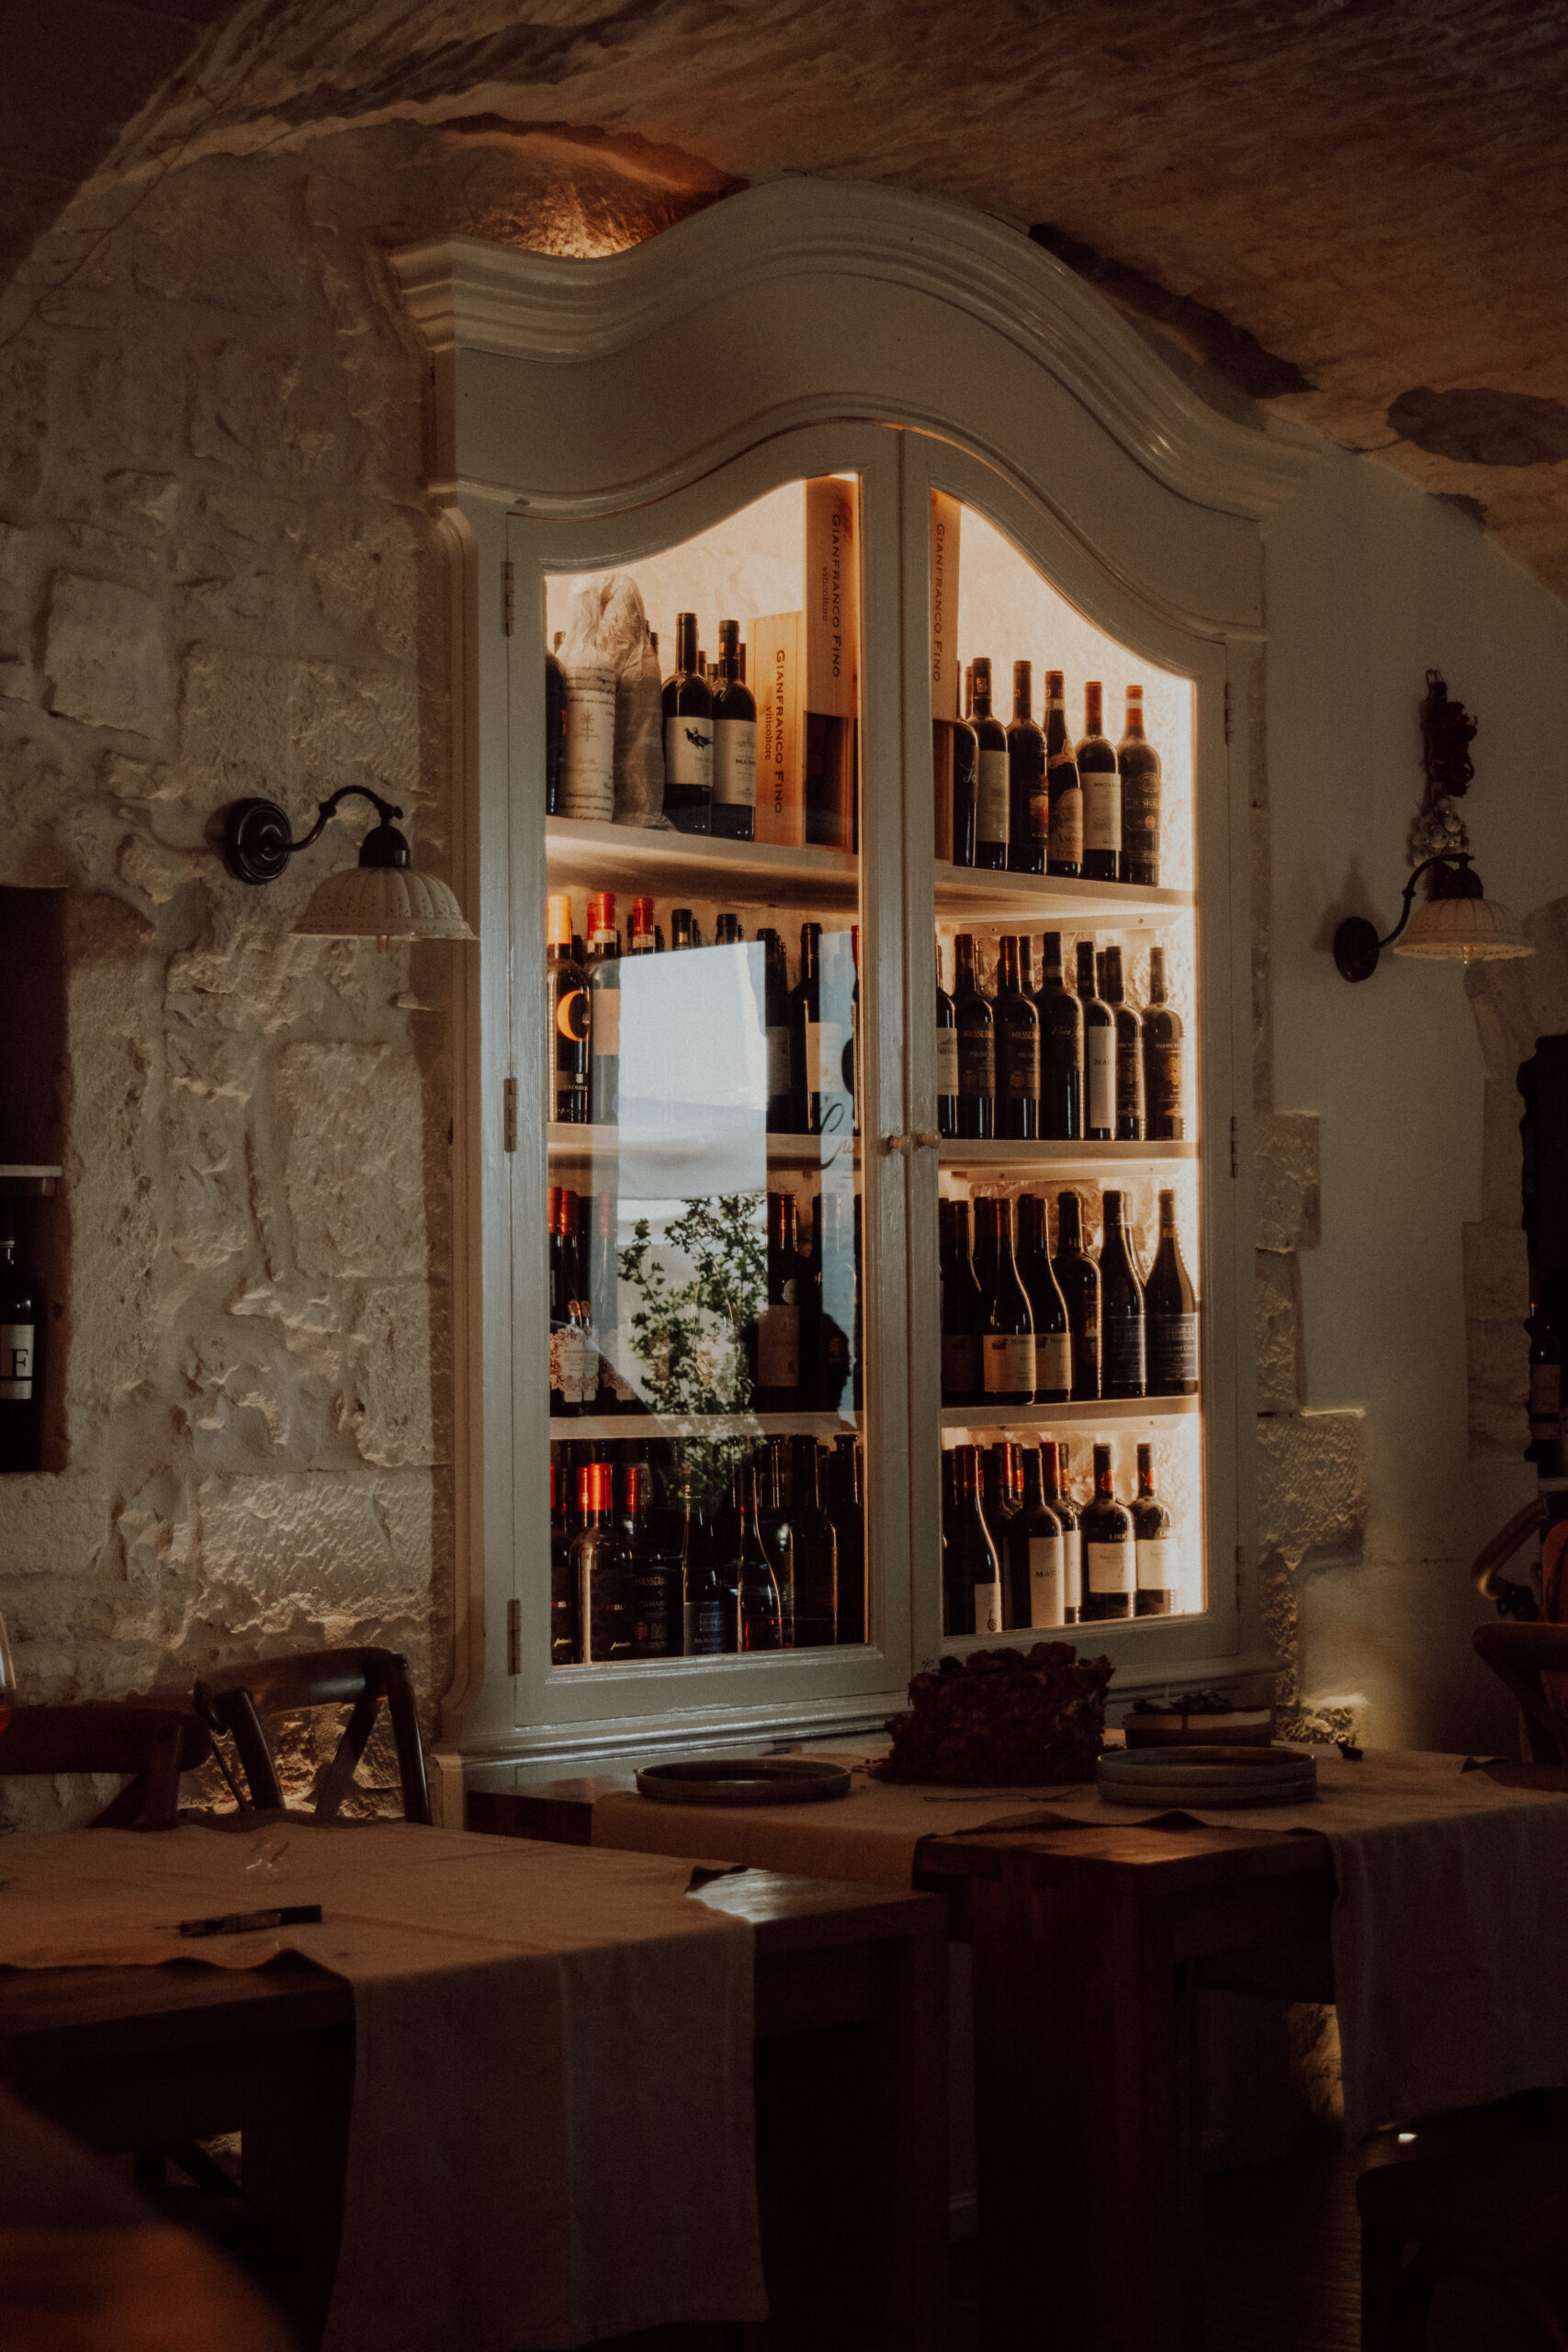
I love to style my shots based on the flavor profile of the wine. Is it smooth and elegant? Go for linen and a dreamy landscape. Is it bold and fruity? Try something a little bit more dramatic and colorful. Whichever route you go – make sure your styling is telling the story of the wine, and it’s complimenting the tones in the bottle, so you don’t have to go too crazy in post-production to make them all work together.
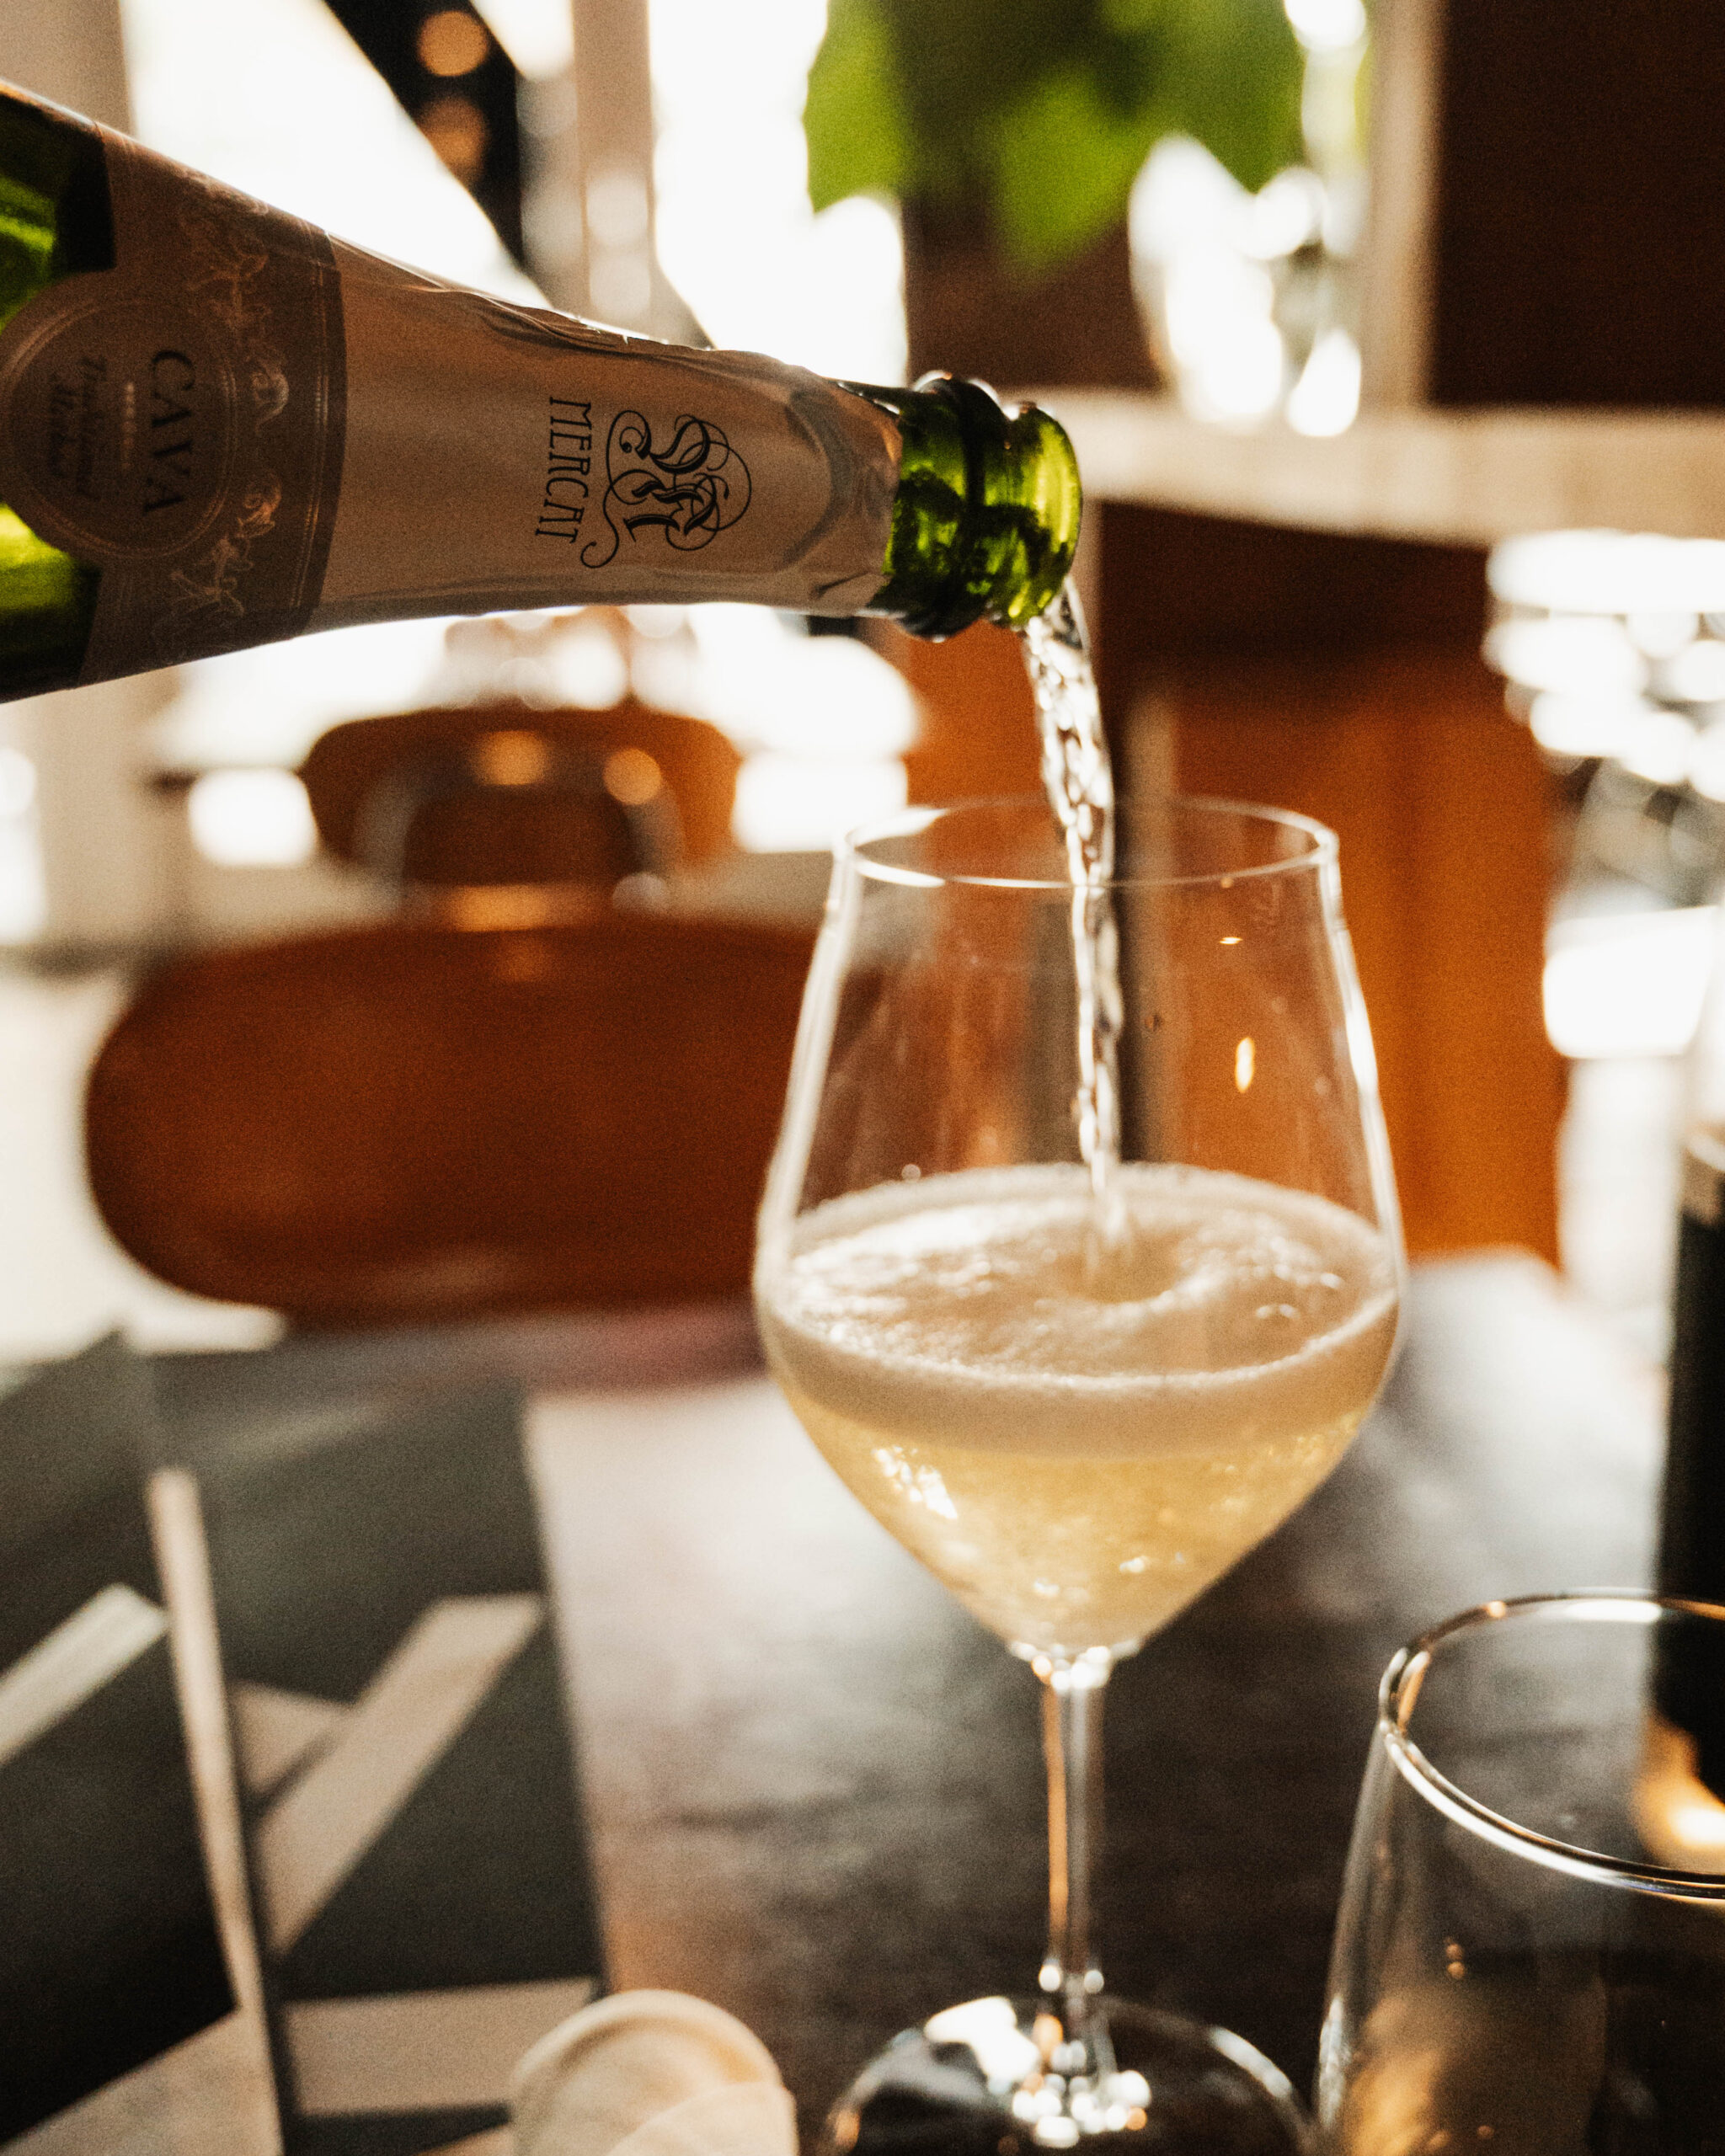
5. Glassware is SO Important
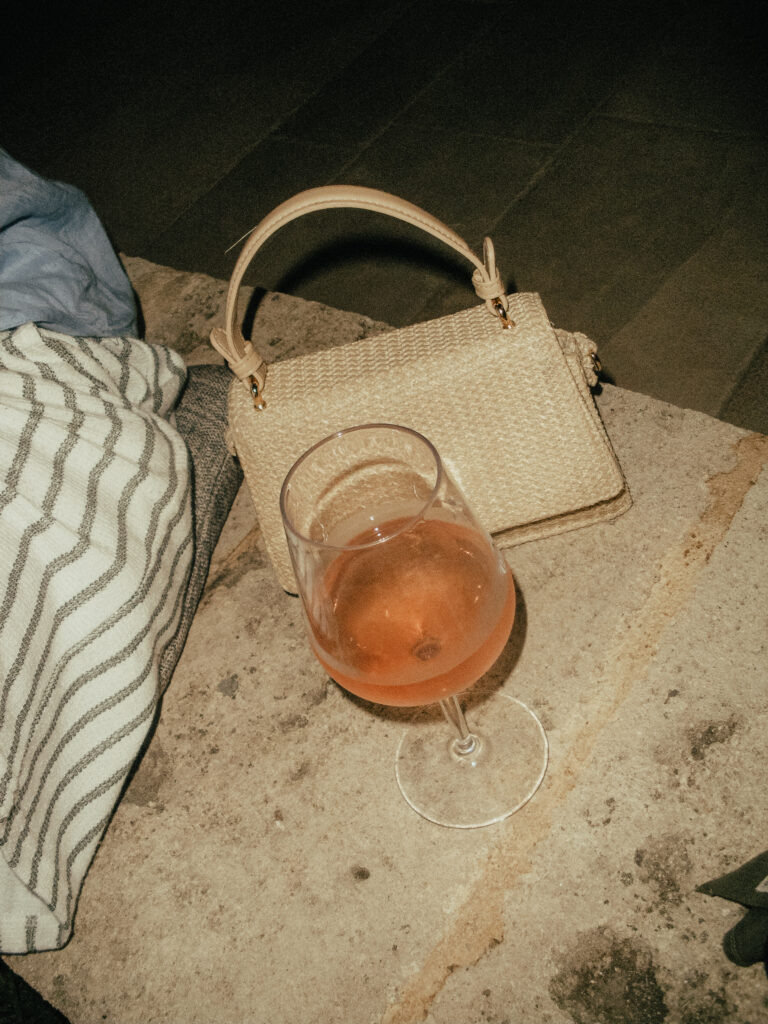
My biggest nightmare (as a wine lover and photographer) is when wine comes in a short, stumpy, fat-stemmed glass. Sorry, but it’s true.
The right glass sets the mood for your shots and quite literally becomes the frame for the wine you’re working with. If it were up to me, for rosé I’d go for something with a slightly larger bowl with a super sexy stem. I’m talking “so thin I could snap it with my fingers” thin. It puts less focus on the glassware and more on the wine – and when the wine shines through, your photos get even better.
Are there any tips that I missed? Share them with me in the comments & tag me in your Instagrammable rosé shots – I can’t wait to see them!
Episode Resources:
FREE GUIDE: iPhone Photography Tips
Blog Post: The Italian Rosé Wines You NEED to Know About for 2025
Leave a Review on Apple Podcasts
Rate on Spotify


")
")


")


")
")


")