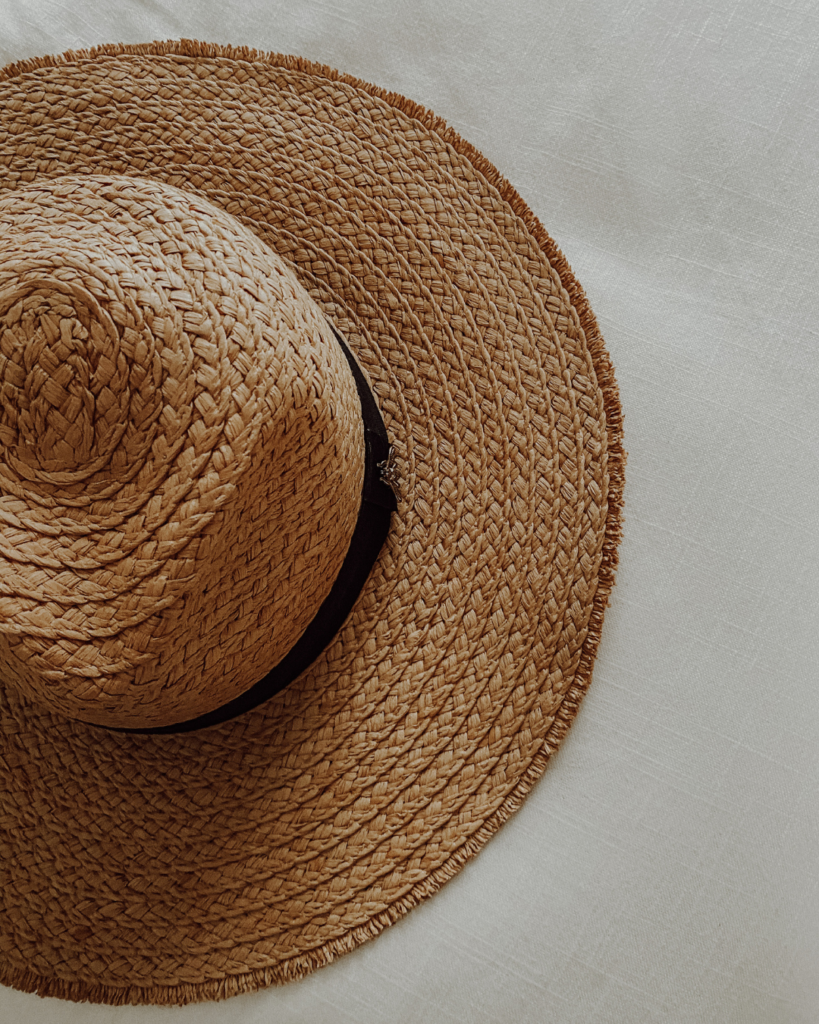
Lighting is the key to taking a good photo—whether on your camera or on your phone. It’s everything. There are a few ways you can play with lighting when it comes to taking photos on your iPhone; my personal favorites are natural lighting, strategic shadows, and even lighting.
Natural lighting
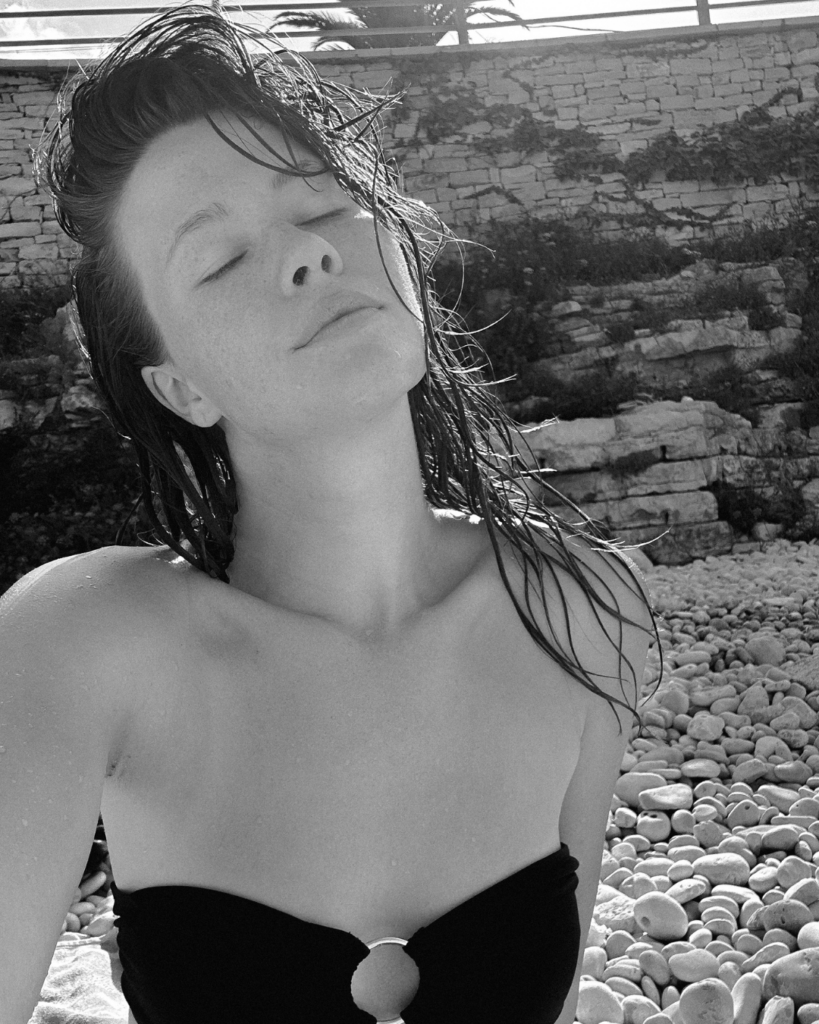
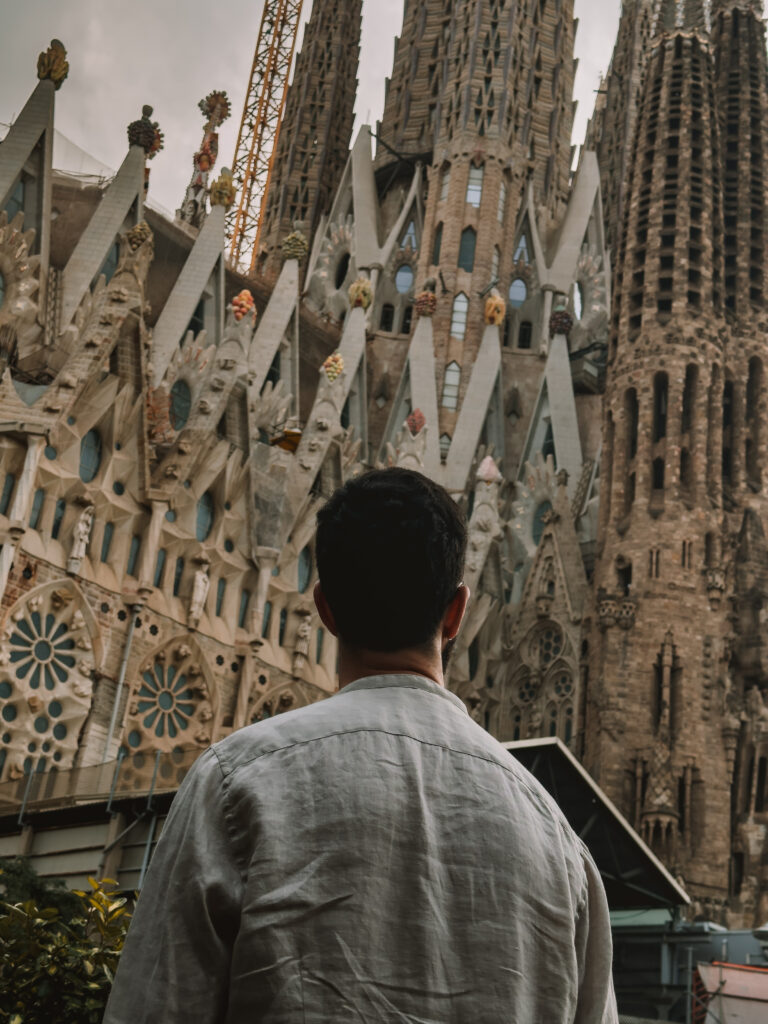
Natural light is the easiest, and often most flattering, light to shoot photos in. Try standing in front of a window for a brighter look, or directly in front of (but facing away from) the sun for a diffused, backlit effect.
Playing with shadows
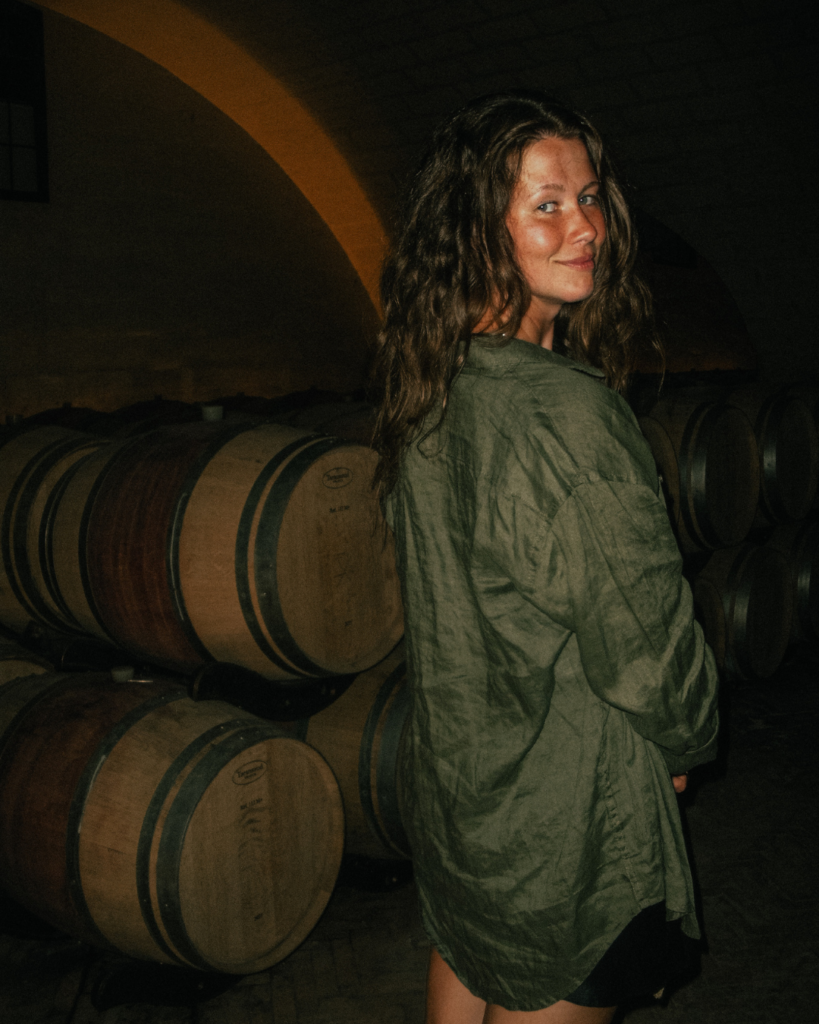
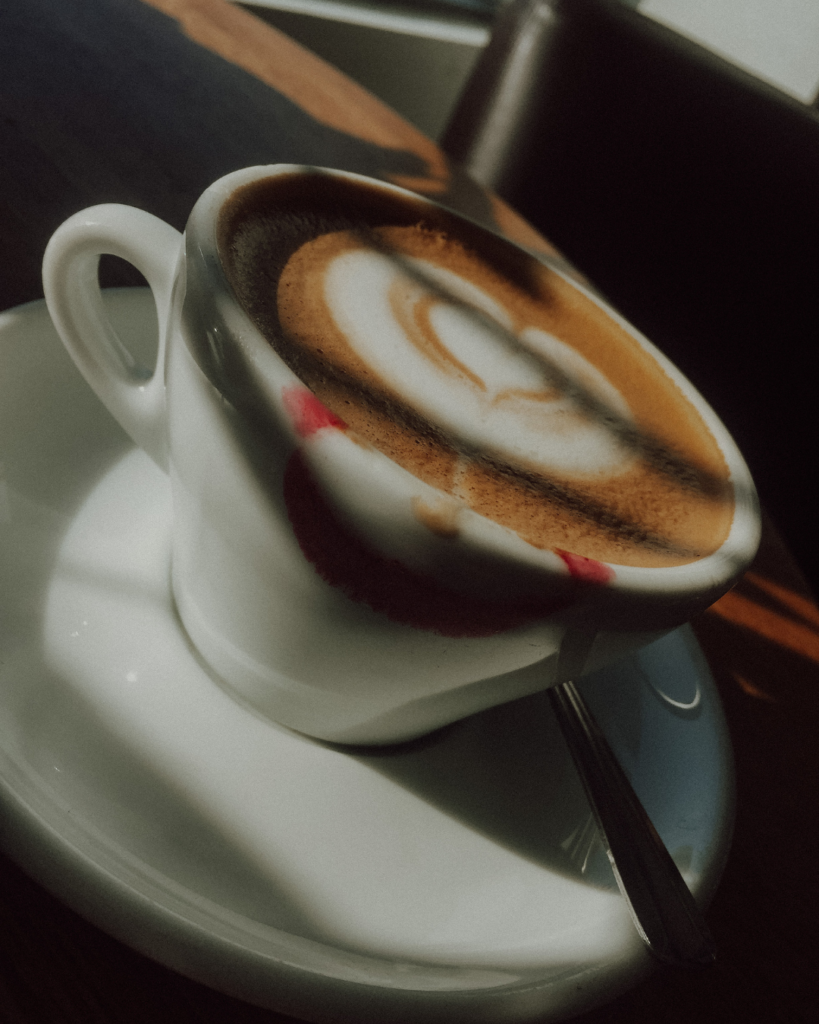
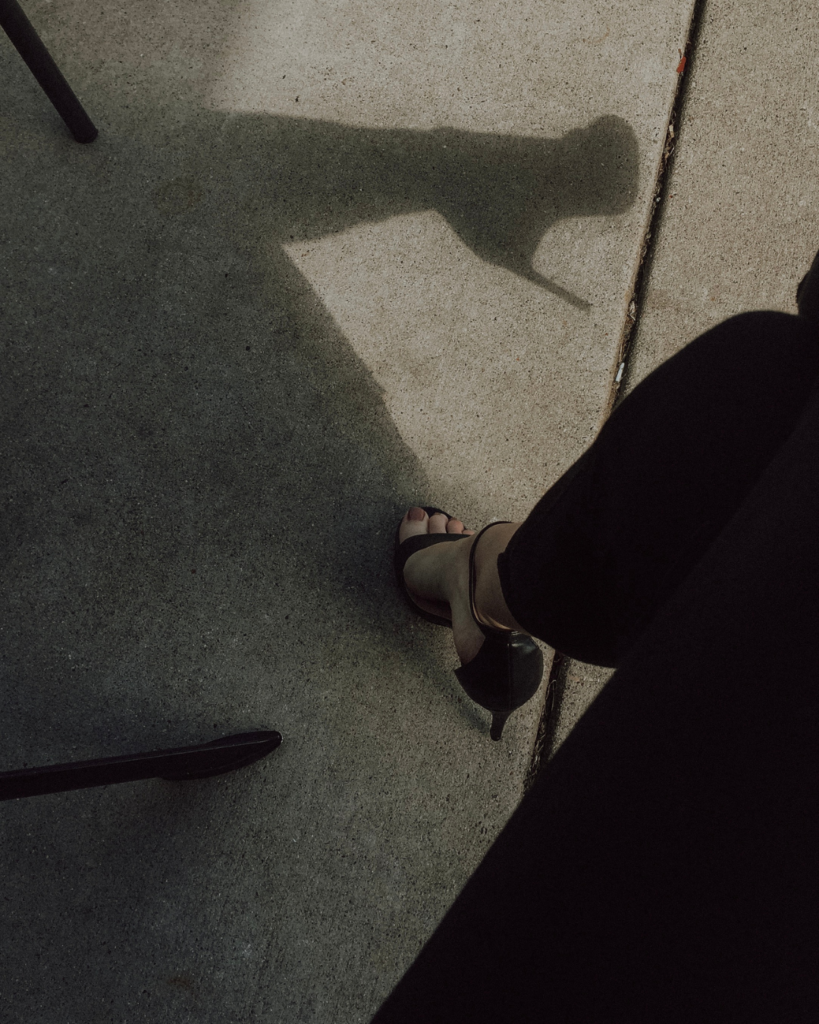
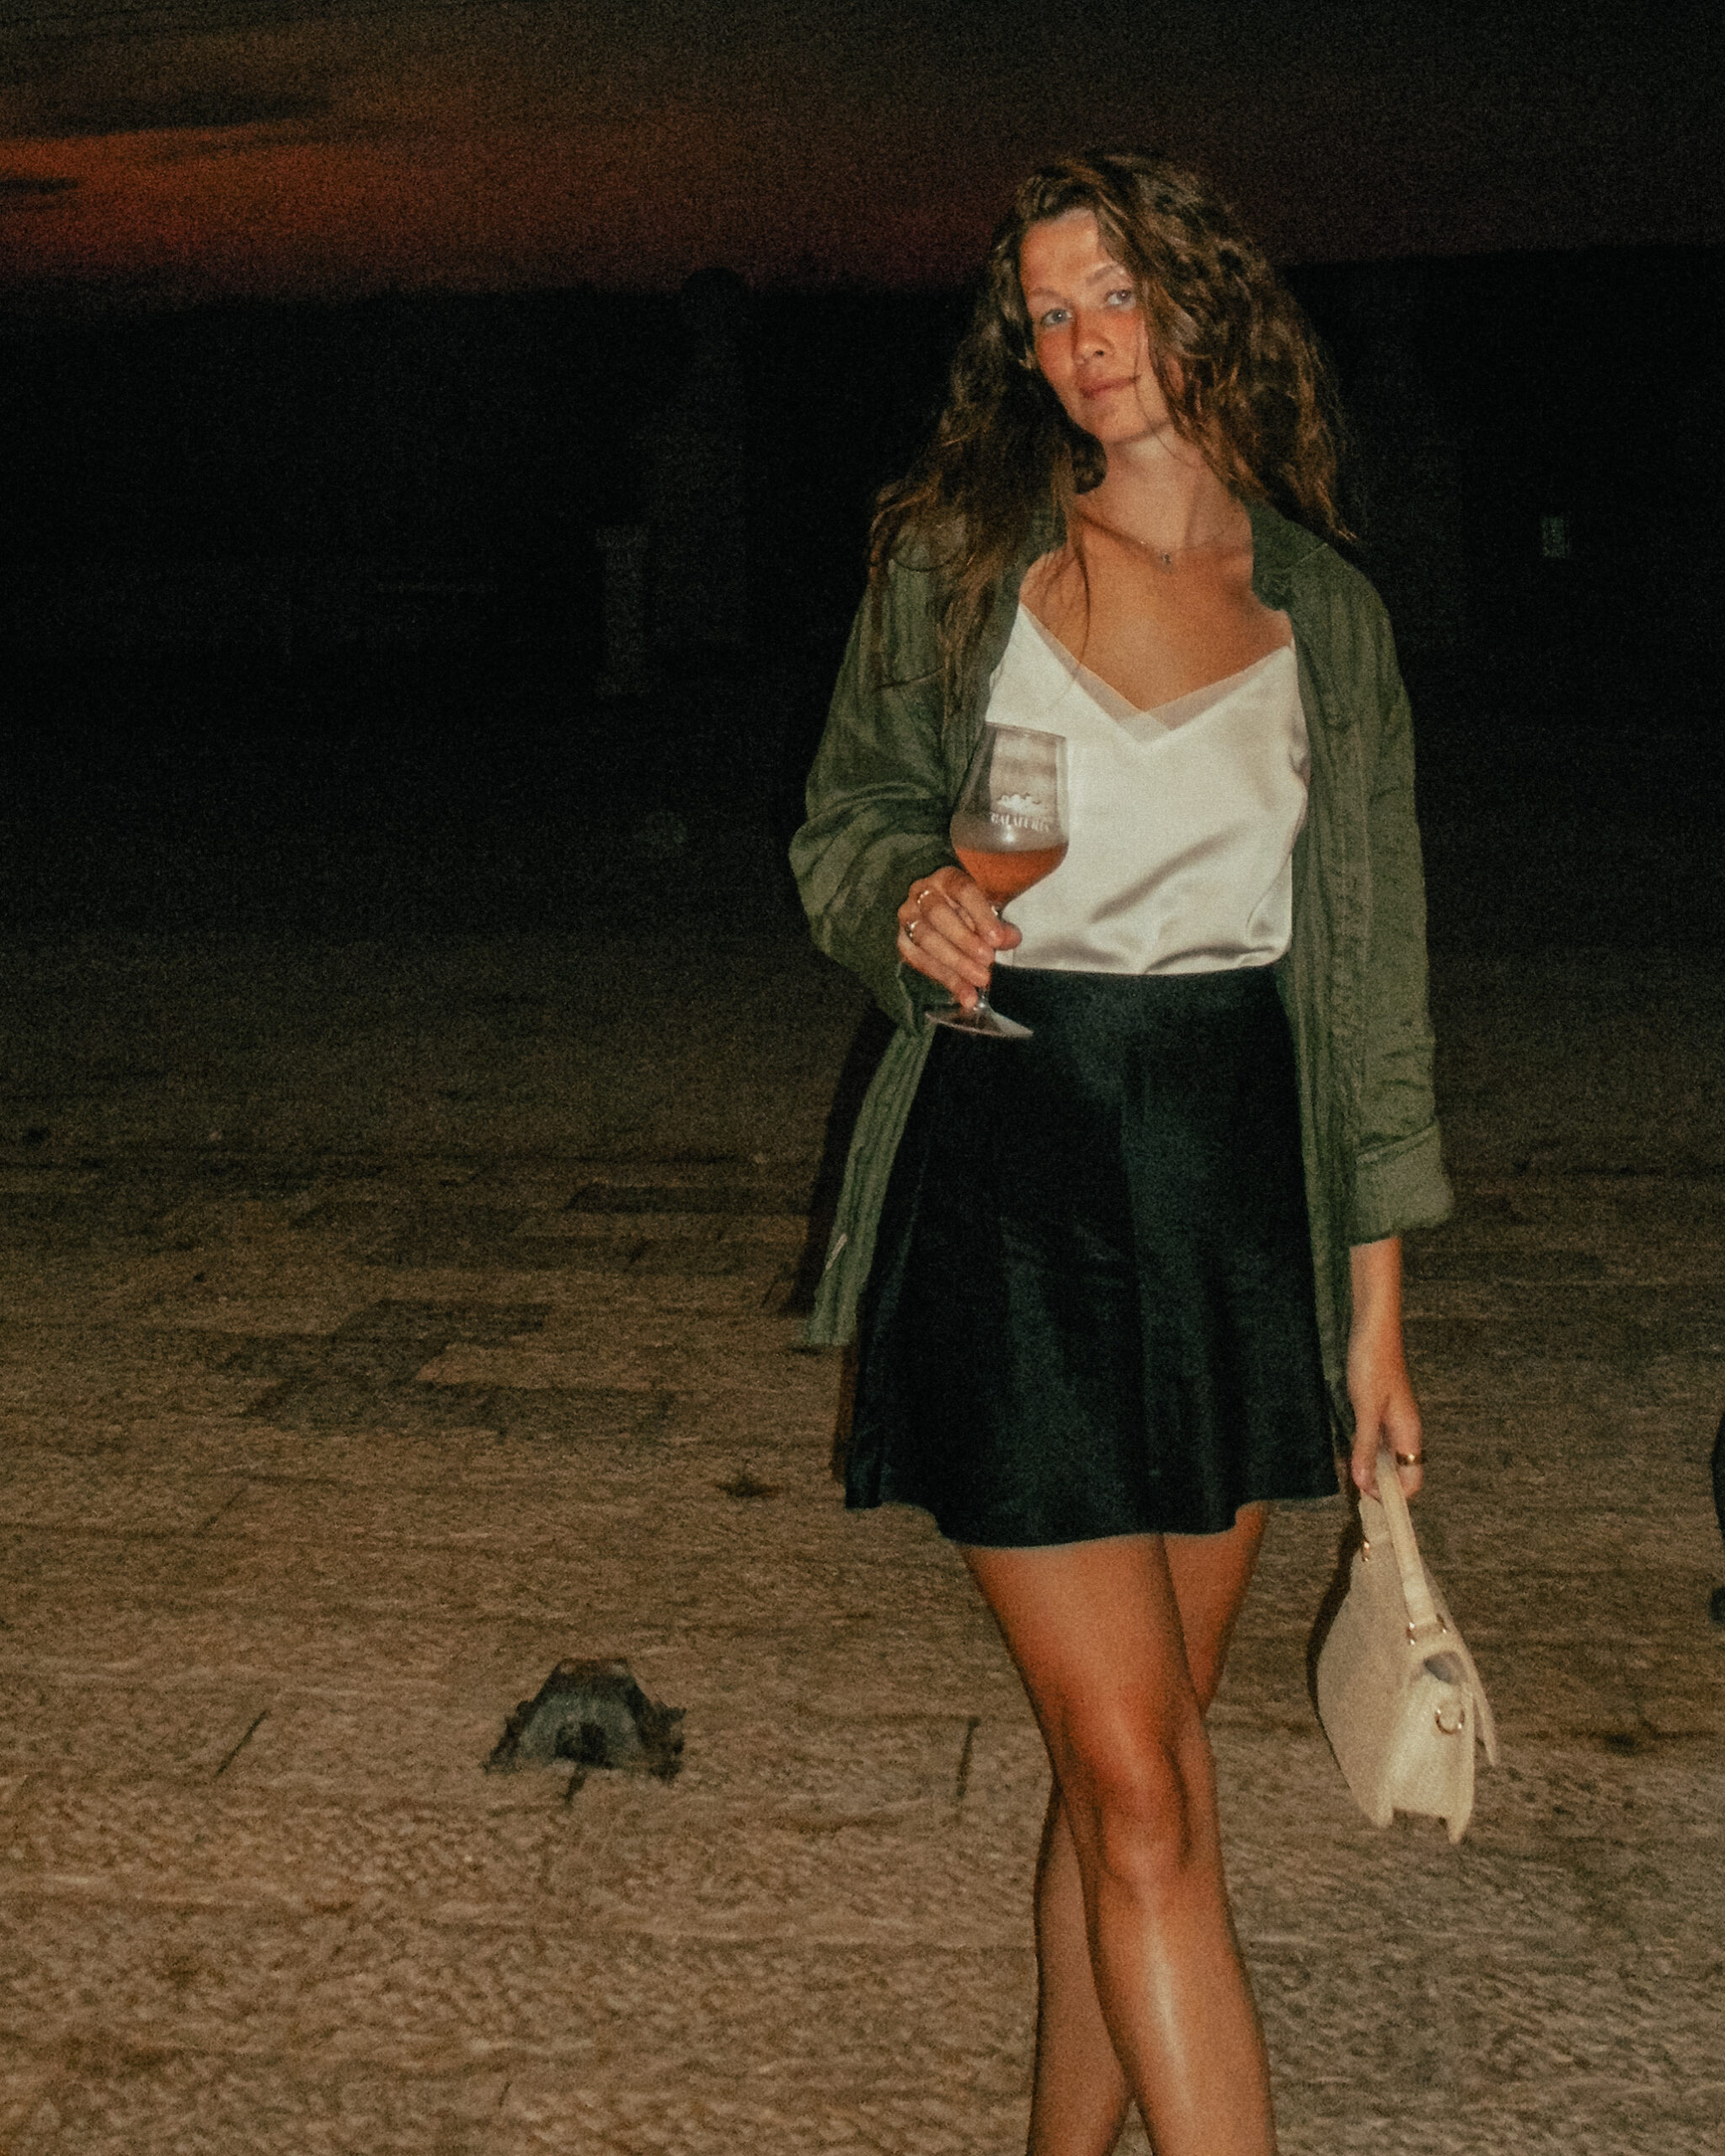
If you love a high-contrast look (my favorite for autumn/winter photos), try playing around with shadows! Shoot in a dark, low-lit space with a flash, or you could even try direct sunlight (facing the sun this time) for a harsh shadow. Both of these techniques can create deep contrast and interesting angles for each photo.
Even lighting
The best light to shoot in – regardless of if you’re using a flash, natural lighting, or even external lighting when you’re shooting on a phone – is to keep it EVEN. This practice will always give you better results and a more clear photo. Play around with different types of lighting and see which one you like the best!
02 – Get the right exposure
Before you go to adjust your brightness or exposure in your camera settings, always make sure you find where your light is coming from first. This way, you’ll get a better idea of how the final photo will turn out in your screen preview, BEFORE you actually take it.
Once you’ve found your light, try lowering your exposure between -0.7 and -1.0. There’s also a way that you can make this the default setting in your phone’s camera too. Now, I understand that this may initially look too dark, but what you’re doing is preserving the details in the photo that can be brought out later. Think about it this way – if your image is too bright, you’ll never be able to find the details if you darken the image. If it’s slightly underexposed – you’ll always be able to bring the details out.
03 – RAW is always better
Before you start taking your photos, if your phone has this capability – do yourself a favor at switch your camera to RAW mode. Yes, it’ll take up more space (it’s a bigger file). Yes, your phone might shoot slower. But trust me on this one.
What you’re getting here is simple.
More control, more detail, and a chance to always keep the original image file intact. You don’t get to say that with a JPEG. Basically, if you ask me – shooting in RAW is the best way to go about taking photos. Especially if you’re editing your images in an app like Adobe Lightroom with presets or a few custom tweaks. With a RAW file format, you have more color channels to work with, more image flexibility and overall better control over your edits than you would have had otherwise.
04 – Set your focus
When you’re setting your focus – there’s a few things that are helpful to remember.
- Create what’s called a “focal lock” on your subject. When you do this, not only does it help your camera “see” what the focus of the image is, but it can also help define the foreground and background of the photo.
- Focus on your subject near the brightest spot of the photo. This will help you avoid burning the image and losing all of the juicy details. Oh, and it also gives you a more balanced color.
- The thirds rule. Turn on your grid and align your subject with any of the cross sections on the screen. It’ll give your photo more dimension and more interesting angles. Another thing I like to think about is to give your head more room in the frame than your feet – basically, more space above than below.
- Use your zoom. Don’t be afraid of your zoom when you’re taking photos – just remember that any time you go above a 3.0 on an iPhone, it has the potential to look more grainy than clear.
- Remember the crop. We’re not going to forget about a creative crop, are we? Of course not! This is especially handy when we love how our subject looks in the photo, just maybe not how they’re framed.
05 – It’s all in the angle
This is one of my favorite tips – and it’s because it’s where you can get the most creative! Try out new and different angles – a close-up instead of a classic selfie, a wide angle instead of a portrait shot. My personal favorite is the candid – where you set up “burst” mode on your phone and can take over 50 images in 5 seconds. It might sound like a lot, but this is how you can get some super cool movement incorporated into your photo that a “1…2…3…click!” might not have been able to capture.
iPhone photos don’t have to be complicated.
Really what it boils down to is understanding how your light source and camera angle can change the way your photos look. Your photos don’t have to be perfect to be great – and sometimes playing around is all the creative spark you need to get going.
WANT TO LEARN MY SECRETS FOR KILLER IPHONE PHOTOS EVERY TIME?
Grab your spot for my “iPhone Photos Made Easy” masterclass!

